Deploying used to be a pain. Vercel isn't.
Push your code, click a button, get a live link. Here's the whole thing.
You need: a GitHub account, your project pushed to GitHub, a Vercel account.
1. Push to GitHub
bashgit init
git add .
git commit -m "first commit"
git remote add origin https://github.com/your-username/your-repo.git
git push -u origin main
Already on GitHub? Skip this.
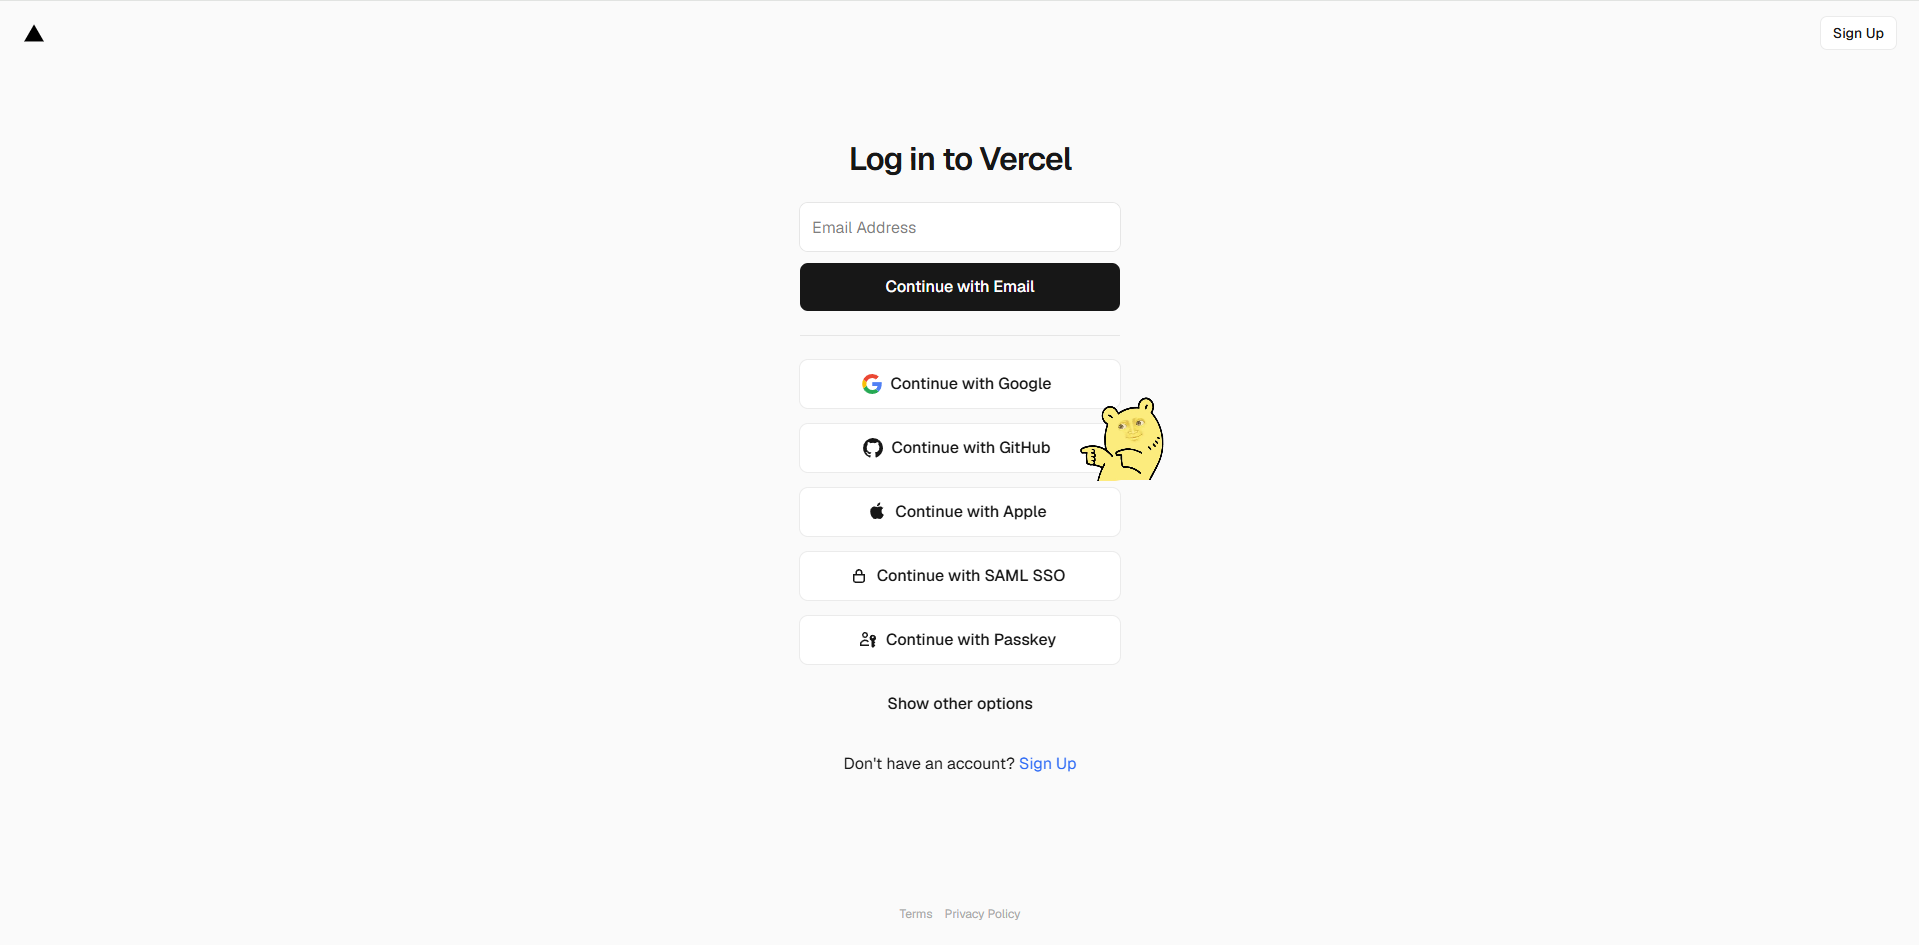
2. Sign up on Vercel
Go to vercel.com → Continue with GitHub.
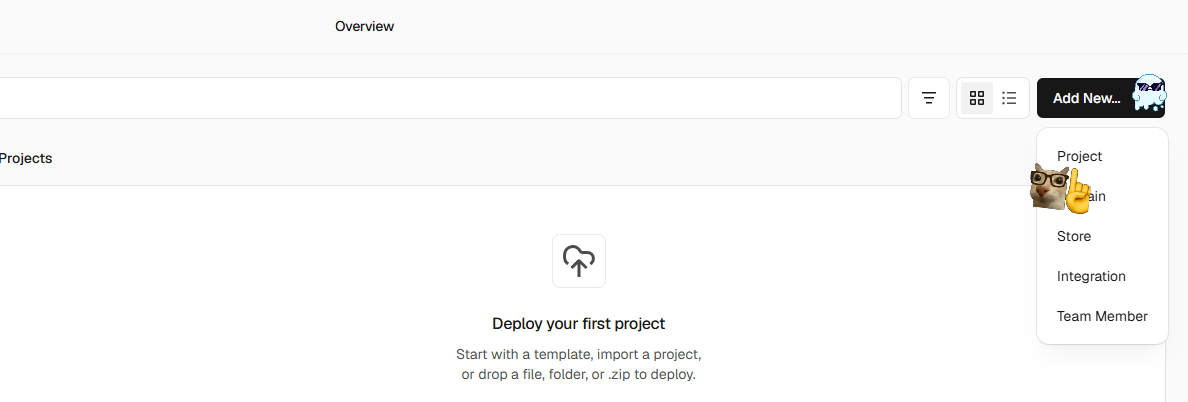
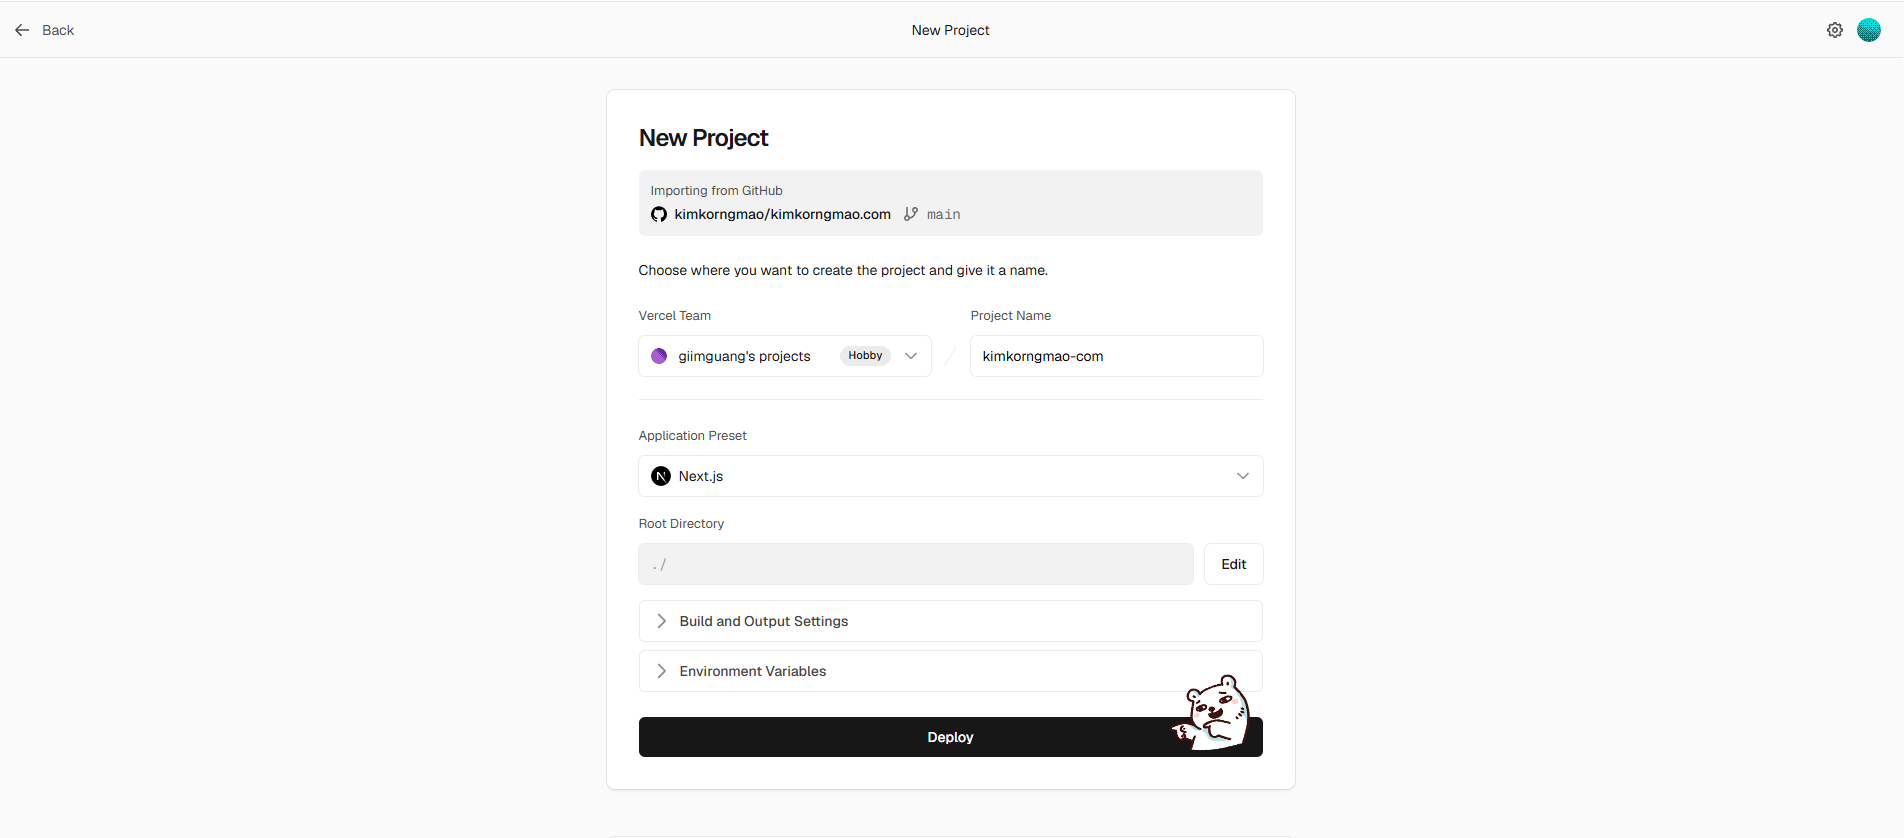
3. Import your project
Add New → Project → pick your repo → Import.
Vercel detects React or Next.js on its own. No config needed.
4. Deploy
Click Deploy. Wait about a minute.
You get a live link: your-project.vercel.app
Done. Your app is online.
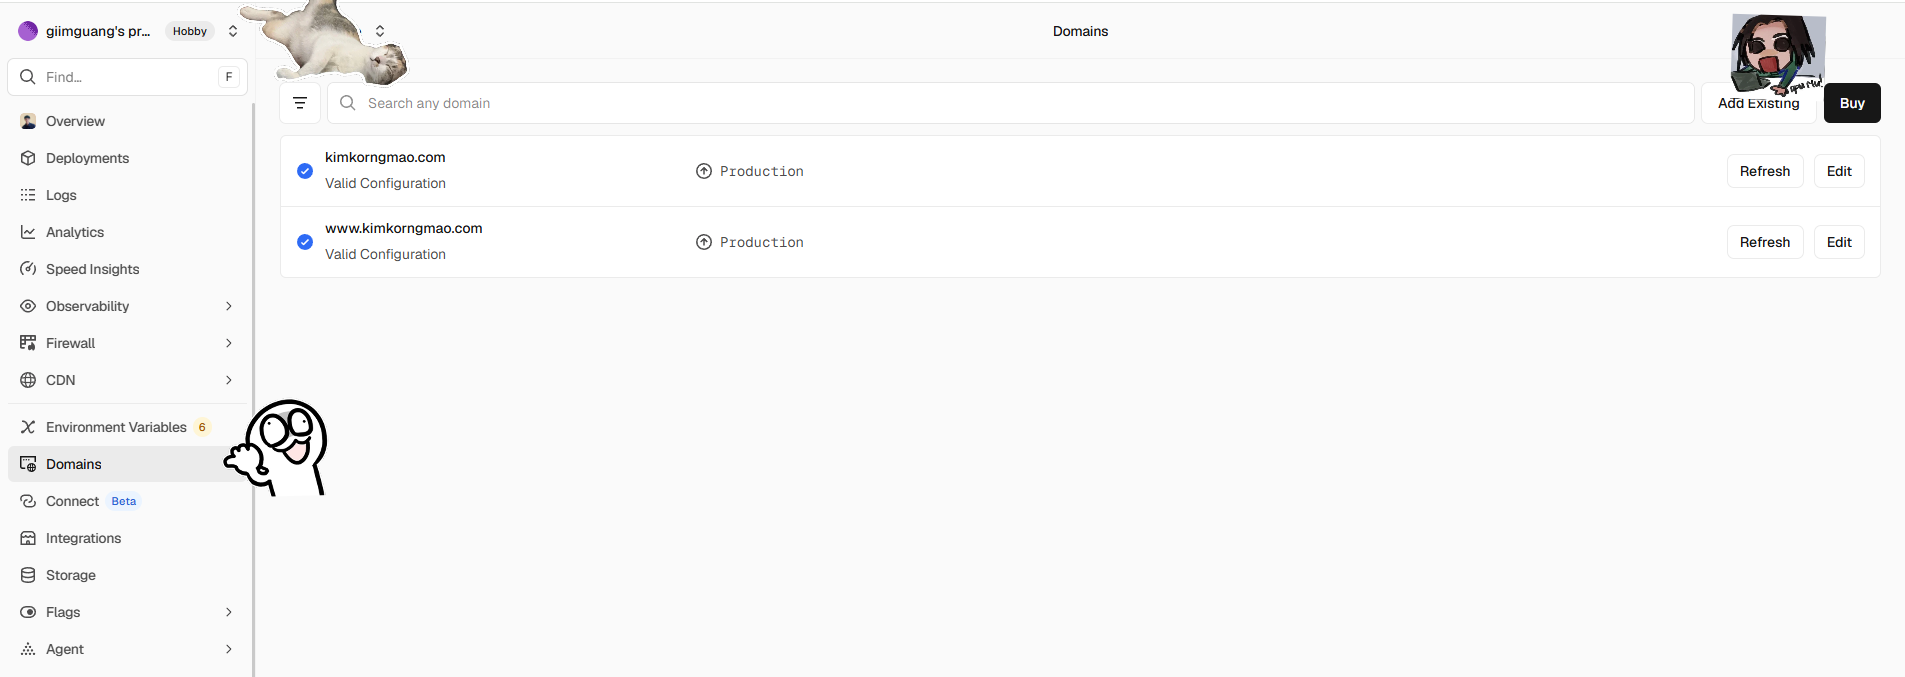
5. (Optional) Custom domain
Domains tab → add your domain → update DNS at your provider. Vercel tells you exactly what to add. Can take a few hours to kick in.
6. (Optional) API keys or a database?
Settings → Environment Variables — add them there, not in your code.
⚠️ Anything starting with NEXT_PUBLIC_ is public. Never put secrets there.
The best part: every git push to main redeploys automatically. Push to any other branch, and you get a preview link to test before going live.
That's it. No servers, no config files.